The Knitting Challenge is live!

kchallenge copy

I’m super excited to launch my first KAL. This is going to be a relaxed and quiet one since it’s Christmas time and a lot of people are still working on their presents. I don’t expect a huge participation, so it’s going to be time for me to learn!

The patterns involved are:

Pesciolino
Frozen Blossoms
Notturno

Don’t forget there’s a 20% discount on them available until Christmas! And also a nice prize for a lucky winner (you can see it in my previous post!)

I hope to have you in my Ravelry group so we can chat, knit together and have fun!

Enjoy the weekend!

The Knitting Challenge 2017

I’m very pleased to announce the Knitting Challenge 2017!
I want to close this year in the most entertaining and pleasant way. Do you know a better way than knitting for a chance to win a gorgeous prize?
So, here we go!
The rules are pretty simple: in the following days I am going to publish on Ravelry 3 different hat patterns I designed. There’s a hat for every member of the family and or for all your friends. One hat for her, one for him and one for a little one!
What you need to do is just… KNIT THEM ALL!
You have plenty of time, the challenge ends on the last day of the year, December 31st.
One lucky winner who has knitted all 3 hats will be picked randomly on the first day of January. He or she will get:

1. A beautiful wooden Yarn Bowl;
2. A luxurious skein of Lorna’s Lace Shepherd Sport (hand-dyed 100% Superwash Merino) in color Black Purl
3. A digital row counter
4. A pair of needle points protectors
5. Chocolate and tea to keep you company while knitting, of course!
6. A nice little surprise.

Are you as excited as I am? I can’t wait to start and to see your creations!
Stay tuned, I’ll post the hats tomorrow.
And, since this is supposed to be fun for everyone, I’m going to give you a nice discount: if you have all 3 patterns in your cart you will get 20% discount! This offer is valid until Christmas (24th December midnight Amsterdam time).

We will knit together one hat at a time. Join us on my Ravelry group The Crafting Tales! You can ask questions, and even tips on how to choose your colours or everything you need. I’m here to help, don’t forget! You can also find me on Instagram and Facebook. Remember to tag your pictures using #knittingchallenge2017 and #ctkc2017.

Here is a pic of the fantastic prize:

knitting challenge.jpg

Have fun!

Plans, summer and… crafting

It’s all new: activities, projects, mood, targets, plans…
It seems this summer is bringing along a lot of changes… and I’m always thrilled when it comes to changes!!!

First of all, as some of you may already know, I made a video tutorial for my shawl Maestrale. I have a Youtube channel now, and… well, it makes me laugh every time I think about that. It wasn’t planned at all, but it happened. Some people asked me to make a video tutorial and I plunged in the filming sea. I couldn’t imagine it was so hard to make a 30 minutes video. The camera, the zoom, the lights, the editing (oh dear, the editing!), the voice and my poor laptop screaming the whole night in pain!
Yes, I didn’t (and I don’t) have the right equipment a vlogger should have. The camera I used for filming was almost 10 years ago. A nice camera (Canon Eos 500 D), but still old. I had to buy a microphone and some lights, but the best thing was filming during the night, when my kids were finally fast asleep. Recording the whole thing, getting to the last 20 seconds when I just had to end the tutorial and then… getting thunderstorms, lightning and heavy rain popping in. Oh thank you my beloved Dutch summer!

Copertina.png

Anyway, I survived, and now I’m even thinking about making other video tutorials. I’d really like to make something to help Italian knitters and crocheters out there who don’t speak English or just cannot read an English pattern. It’d be something very new and I really like the idea of introducing the international World of knitting and crochet to my own country.

In the meanwhile, I’m making an Italian version of my Maestrale pattern and see what happen. And, for those of you who already saw my video: did you notice that shawl on the dummy at my back? That’s my latest project. The pattern is ready, only the pictures are missing but I’m going to have a nice shooting next week. My test knitters are working very hard to finish everything in time, and I really hope I can publish the pattern for the end of this month, so you can all carry along with you a sweet memory of this summer (“Summer? Anybody said summer?”, asked Mr. Dutch Weather).

DSC00282.JPG

Beside the pattern launch, I also have some plans for my holidays. Well, first of all, I’m going on holiday with my family, and that’s already a good point scored. When? Somewhere between the second and the forth week of the month. Where? Now, that’s a difficult question. I’d love to go back to Norway, this time around Bergen, Alesund and Molde. I’m in love with Norway, and I’d truly want to see it better than the last time (a cruise? Never again!). Unfortunately I think we have to give up for this year, but I’m determined to go sooner than later! So we’re focusing on the Italian Dolomites, that paradise around Bolzano and Trento where you can enjoy that mountain experience nowhere else to be found. It’ll be lovely and (I hope) very relaxing.

And then, last but not least, I’ll be joining Andrea Mowry’s MKAL What the Fade. So I finally can get my hands on some gorgeous Hedgehog Fibers. Ah! Yarn bliss! I can’t wait! And… oh yes, of course, I have another project going on with Scheepjes Whirl, but I can’t say much, it’ll be a surprise!

What are your plans for this summer? Let me know in your comments!
Happy crafting!!!

Giorni di Sole – Sunny Days

Rain is pouring down in my beautiful city today, so I feel like talking about sunny days (to come soon, I hope!).
A couple of days ago I released another pattern called Giorni di Sole, which in Italian means, guess what, sunny days.

Cover

It’s a square blanket, originally designed to be a baby blanket. Being a granny square blanket, though, it’s very customizable. I’ve only made 49 squares and arranged them in a 7 x 7 square, but it can be made in any number of squares arranged in every kind of way. It features a central motif, a yellow sun, surrounded by a contrasting color (the sky) and bordered in white.

Culla.jpg

The yarn I’ve used is Scheepjes Colour Crafter which is a nice acrylic yarn that comes in lots and lots of different shades. Again, the blanket can be realized in any kind of yarn, of any weight, color and brand. The great great merit about Giorni di Sole, is that it can be used as a stash burner. The only thing to consider is to make all the square in the same size, otherwise the blanket will pull and curve in strange and funny ways when the squares are joined together.

Books.jpg

This could be the perfect gift for Christmas as well: try to imagine it done in 2 colors only: yellow and dark blue, or white and black. The central motif would look gorgeous in yellow or white on a dark blue or black background. It’ll become a magical starry sky!!! This kind of color combination would also be perfect for picky teenagers.

Side.jpg

The pattern is available here or on Ravelry as a free download. There is also a handy photo tutorial here on how to join the squares of the blanket, so that it can be done very quickly.

wip.jpg

So, are you ready to hook your first square? Let me know what you think about it and keep me posted also on Instagram. In the meanwhile, I’m working on a video tutorial for my Maestrale shawl and on another shawl pattern, this time knitted! You can see some sneak peaks on my Insta account!
Happy crafting, have fun and… well, wish me sunny days!!!

Stitch Anatomy – Knitting: substituting stitches in patterns

Some time ago a nice lady asked me a very interesting question: since I really don’t like the look of Garter Stitch, can I substitute it with Stockinette Stitch?

The answer is, yes BUT.

Let’s see the differences between these two stitches and why they are not completely interchangeable. I’ve knitted two small samples to see the differences.

Coverstg.jpg

I’ve used the same yarn (Madelinetosh Vintage), the same needles (KnitPro Marblz double pointed needles size 4.5 mm / US 7), the same chair (Ikea something) and I’ve made them the same day, that is today…

As you can see, there is a HUGE difference, even for such a small sample. I’ve cast on the same amount of stitches and knitted the same amount of rows for both of them. The swatch is 15 st x 18 rows (I didn’t block them)

comparison.jpg

The Stockinette Stitch sample measure 8 x 8 cm (about 3 x 3 inches), it’s a perfect square. The Garter Stitch sample measures 8,5 x 6 cm (about 3 1/2 x 2 1/4 inches). Quite a difference, don’t you think?

ontop.jpg

How then can it be possible to knit a Stockinette section inside a Garter border and get a straight piece and not a odd shaped one?
Thanks to the Garter stitch: its great elasticity let it adapt easily beside almost any other kind of stitch. Beside the Stockinette Stitch section, it will stretch in height and thus let every stitch reach the same size.

Back to the initial question, then:

  • if a pattern calls for Garter Stitch, it’s possible to knit in Stockinette Stitch, but the different height of the two stitches must be taken into account (unless the shape or the length is not a problem, like in a blanket, for example). Remember also that Stockinette has the tendency to roll and you can’t really do anything about that (even blocking won’t fix the problem); the best thing to do is add a little border in Garter Stitch (for example), as it will keep the piece straight and avoid the curling.
  • if a pattern calls for Stockinette Stitch, it’s possible to knit in Garter Stitch, but, again, remember the differences in size. You will need a lot more rows to get to the same height, as the Stockinette Stitch is taller and slightly thinner. This also means you will end up using much more yarn than the amount stated in the pattern.

sidebyside.jpg

My advise is: make a swatch and measure, do some basic calculations and adapt. This is really necessary if you are making a fitted garment, unless you don’t mind to end up with a long dress or a short top instead of a sweater!

Please, write me and let me know if you have any doubt or question about any aspect of knitting or crochet. I won’t say your name, don’t worry, you won’t be ashamed in public as a newby! It’ll be our secret! 😛

Have fun!!!

Stitch Anatomy – Crochet: joining squares as you go

This method was a true revolution for me. I first tested it some years ago for a baby blanket I was doing and it worked so perfectly that I haven’t used any other method since then!

It’s pretty easy. I’m demonstrating here using my new Giorni di Sole blanket that you can find here or on Ravelry. You can try a couple of these squares to practice!

You need to crochet one full square, which means completing round 5. Then you can crochet all the other squares up to round 4.
Here is how they look.

IMG_3273.JPG

Now take the square with round 5 completed and name it square 1 (my N. 1 is blue). Take another square (green for me) which you’d like to put beside N.1 and start round 5 completing only one side of the square. Once you reach the second corner, make only the first half but don’t chain 2. Here is how your square N. 2 looks now.

IMG_3274.jpg

And now the fun part! Place your square back to back (wrong side against wrong side). Insert the hook in the chain 2 space of N. 1, grab the working yarn and pull through.

IMG_3279.jpg

And make a slip stitch! You’re not going to chain now, Your slip stitch will replace the chain!

IMG_3280.jpg

Complete your corner as normal, with the next 3 double crochet, and carry on till you get to the next chain 1. Once again, you won’t chain. Insert your hook in the chain 1 space of the square N. 1, pull a loop and make a slip stitch.

IMG_3284.jpg

Just as you did before.

IMG_3285.jpg

Continue on like this…

IMG_3288.jpg

…till you get to the next corner. And guess what? You’ll do exactly the same!

IMG_3290.jpg

And now your two squares are joined! You can continue on with the border until you reach the other side and close with a slip stitch.

IMG_3292.jpg
When you have to join 3 corners together, just make 1 long slip stitch inside them, and that’s it!

I told you it was easy! This will save you a huge amount of time since you don’t have to make all those boring slip stitches all together at the end.

What about you, what’s your favorite joining method? Please let me know if you have questions and feel free to comment below. Happy crafting!!!


Stitch Anatomy – Crochet: Front and Back Loops

One of the most common question crocheters have asked me is: Shall I go into one or both loops of the stitch?

The answer is, as always, it depends.

The standard way of crocheting is going into both loops of the stitch. This gives a smooth and flat piece. Crocheting into only one loop of the stitch gives a different result. Let’s first take a look at the stitch to understand exactly what a loop is.

At the top of every stitch there is a sort of V. The two legs of the V are the two loops of the stitch, called front or back loop according to their position.

Normally both loops are used, which means that the hook will go underneath both loops at the same time, as shown here.

bothloops.jpg

To work a back loop only stitch, the hook will go underneath the back loop like this.

backloop.jpg

To work a front loop only stitch, the hook has to be inserted in the stitch like this.

frontloop.jpg

Going underneath only one loop of the stitch leaves the other loop unused. This unused loop shows in the work as a little line. Working into the back loop only leaves that line in the front of the work while the back stays flat.

backlfrontwork.jpg

Working into the front loop only gives the same line in the back of the work while the front stays flat.

backlbackwork.jpg

Which one to choose then? Front, back or both loops? As I said before, it depends on the effect you want to achieve. If you want more texture, go for one loop at a time, if you want to crochet a flat piece just use both loops. When you are following a pattern, the author will tell you what to do, so don’t worry. If there’s no mention of loops (back or front) you can relax and crochet into both loops (some people find it easier!).

But what about the chain?
It’s, again, a personal choice, there’s no right or wrong. I always use both loops of my starting chain to build my first row of stitches as it looks smoother. When I turn my work and I have to work in the turning chain I always try to go underneath both loops as the chain doesn’t stretch to much and doesn’t leave holes.

Tips: if you want to add a line to your work for every row, work the first row in the back loop only, then turn and work in the front loop only. This creates horizontal lines on the right side.

detailmae

What’s your style? Have you ever tried to crochet in one of the two loops only? What do you think?

Don’t forget to enter my giveaway on Instagram! It’s closing in 2 days!
Sorry for the poor quality of the pictures but it’s been very gloomy and dark in the Netherlands these days, not the best weather for indoor photography!

Giveaway time!

I’m very happy to announce my first ever giveaway!

Following the great feedback I got on my Maestrale pattern, I’m going to celebrate with this little gift to you all. If you want to try the pattern, you will now get also the yarn for it!

I’m giving away a cake of Scheepjes Whirl. But that’s not all: you can choose your color! Fantastic, isn’t it?

Giveaway

Here are the rules.

To enter the giveaway you must do ALL of the following:

  • Follow my Instagram account (constant updates on patterns, tips, reviews and, of course, giveaways!)
  • Repost my image tagging me @nimhriel
  • Tag a friend
  • Answer the little survey below commenting here or on Instagram
  • Of course, don’t forget to tell me which shade you’d like to have!

Here’s the questions. Please choose only one answer:

What would you prefer to get from your favorite knitting and/or crochet designer:

  1. Just nice, tested and well written paid patterns
  2. A complete kit with pattern and yarn available on the market (like Malabrigo, Madelinetosh, Scheepjes and so on)
  3. A complete kit with pattern and yarn specifically dyed for the pattern (choosing among pre-made color combinations or making your own)
  4. A complete kit with pattern and yarn specifically dyed according to your own liking (choosing for example two or three different colors to dye a customized skein)

The contest will be open for 1 week and the winner will be selected at random on next Friday June 30th. I will make the announcement on Instagram. The winner will receive one Scheepjes Whirl in the color of his or her choice.

That’s it! Easy and quick!

Please be aware that this giveaway doesn’t work with entries. You can tag as many friend you like, for example, but you won’t get any extra point or chance to win. This is to encourage also those new to Instagram who want to try their luck! All competitor will have the same chance to win.

Sponsor: this giveaway is NOT sponsored by Scheepjes, Instagram, any yarn shop or anybody at all. The prize will come directly from my own stash. I just want to give you the chance to try Whirl and have fun!

Thanks everyone, I hope you’ll like it!

Yarn review: Scheepjes Whirl

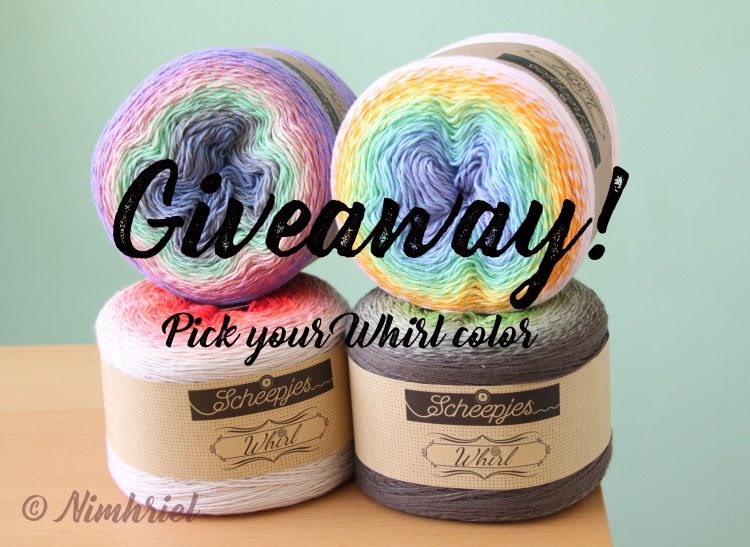
One of the most popular yarn at the moment, Scheepjes Whirl never stops to amaze, coming up with brand new colors and beautiful patterns from Scheepjes bloggers.

Like many others out there, I couldn’t resist these gorgeous cakes, so I treated myself to a couple of them. And I don’t regret it at all! They are sitting gracefully on my shelf in my craft room like candies in a jar for my eyes. But why all this uproar? Let’s take a closer look at this yarn.

IMG_3163

Description

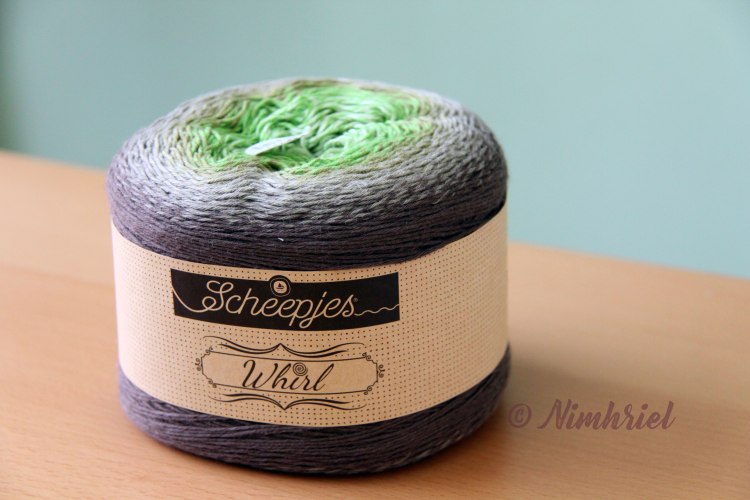
Whirl is a fingering weight yarn (4 ply) made of 60% cotton and 40% acrylic.
It comes in a cake of 225 gr and it has a yardage of 1094 yds (about 1000 mt). Scheepjes recommend to use a 3,5 – 4 mm hook (size E – G). It’s machine washable on gentle cycle.
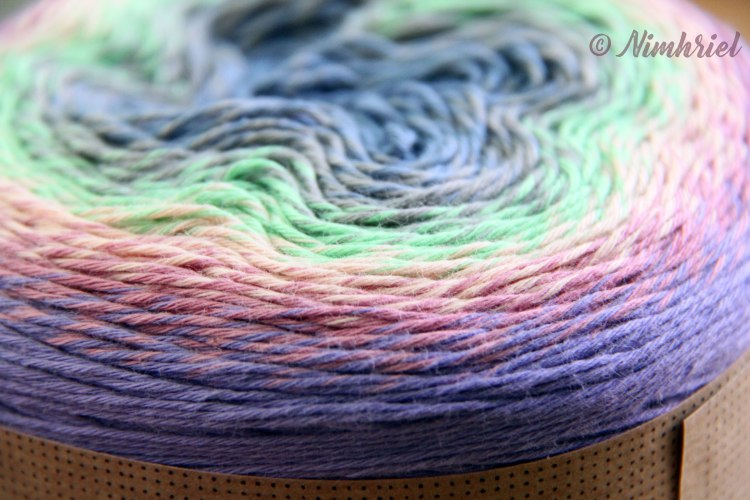
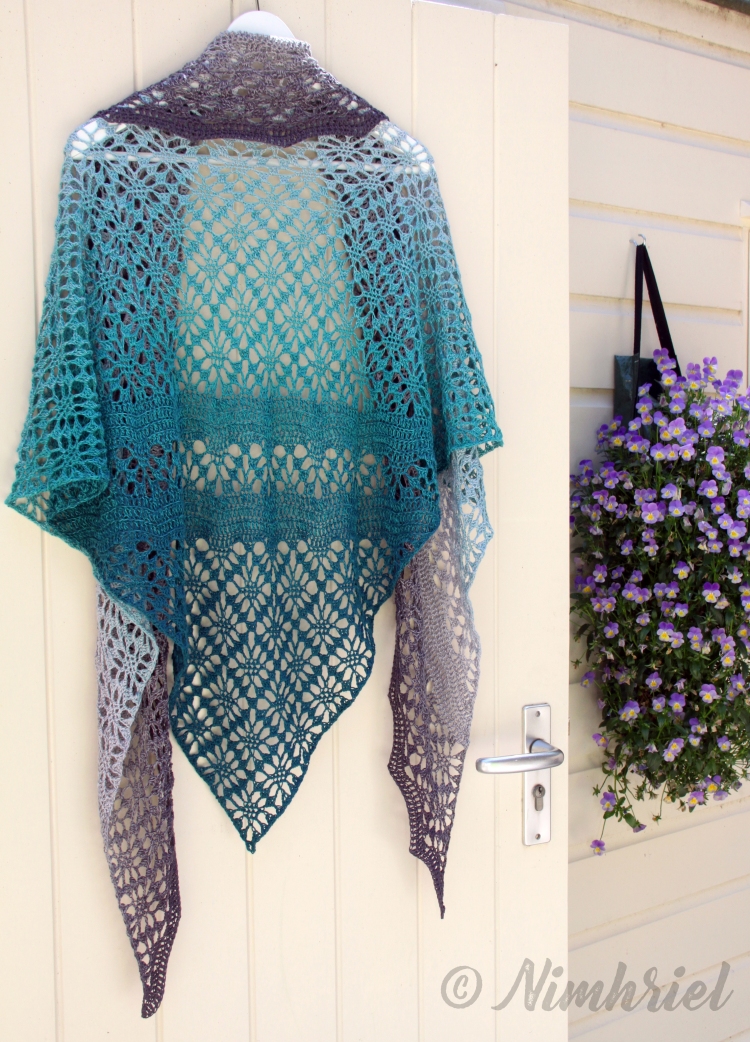
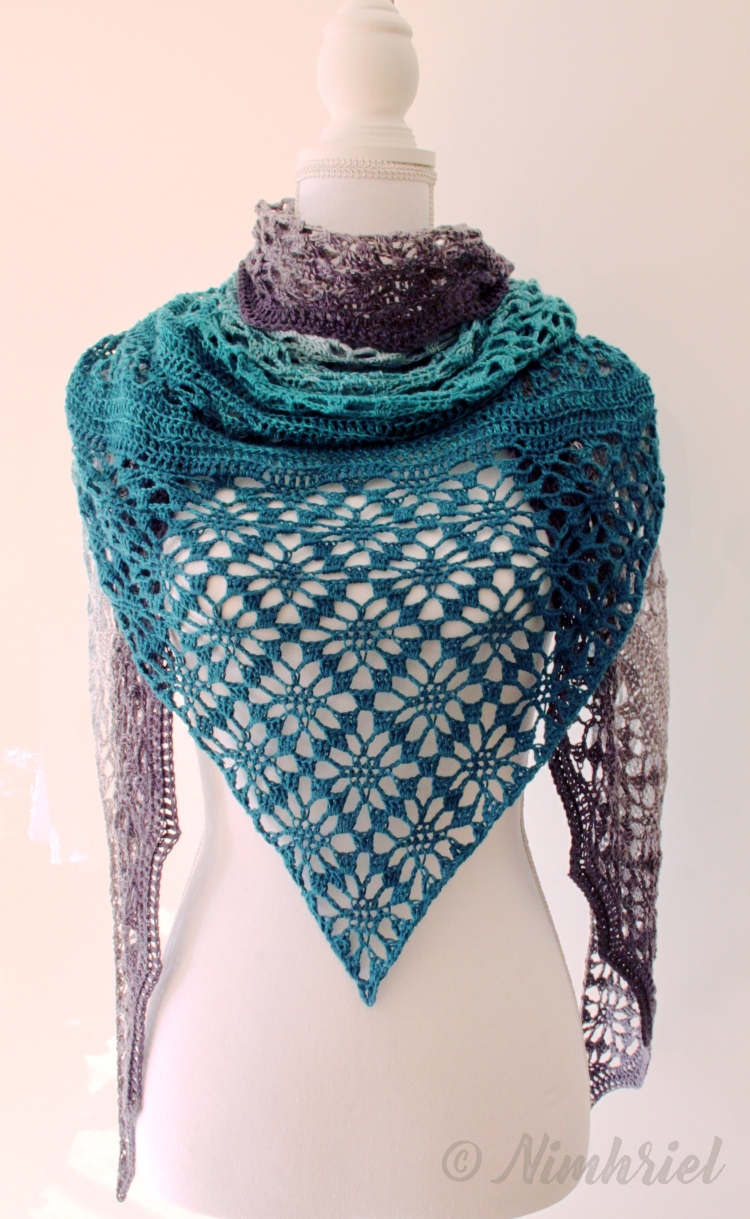
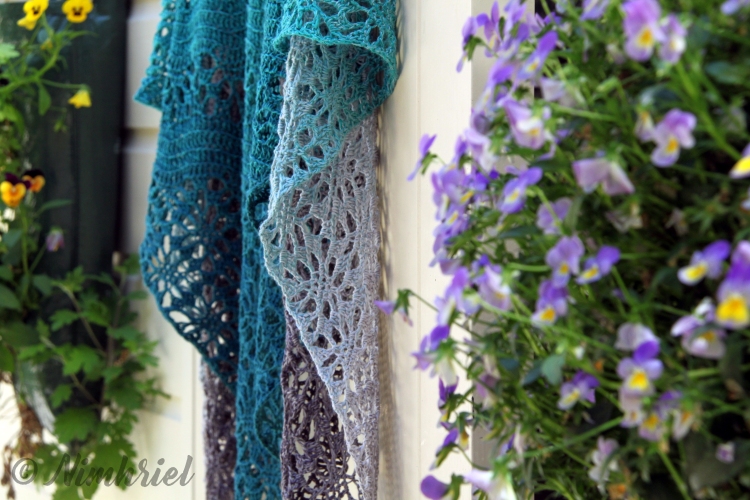
It’s a gradient yarn, made of different threads joined together for a smooth transition.
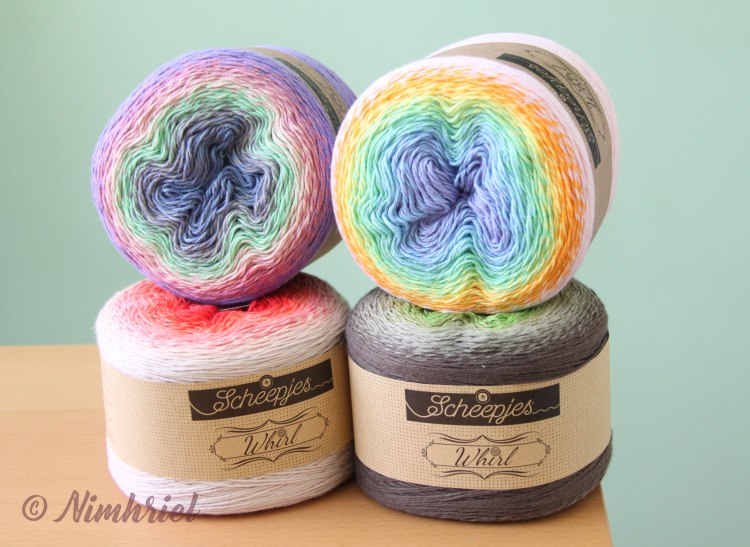
At the moment, Whirl is available in 17 colors with more to be launched in the near future. Each cake has a Easy Start center pull. The average price for each cake is about 25€ (20£).

Details

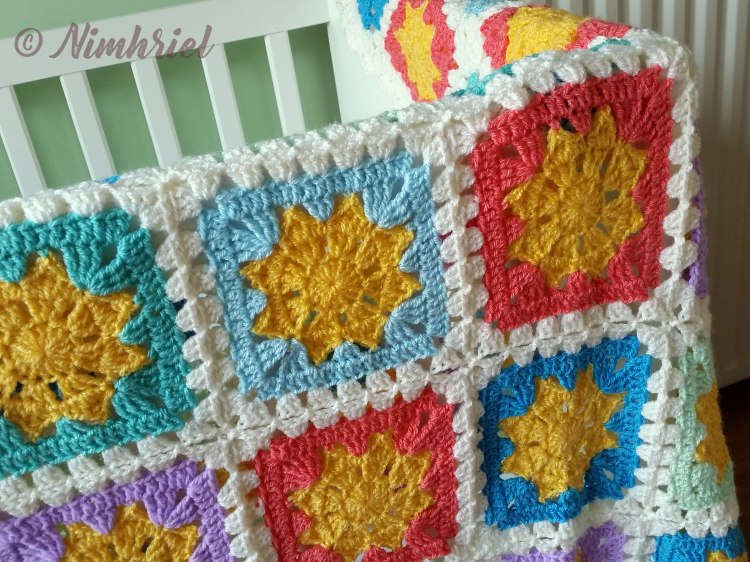
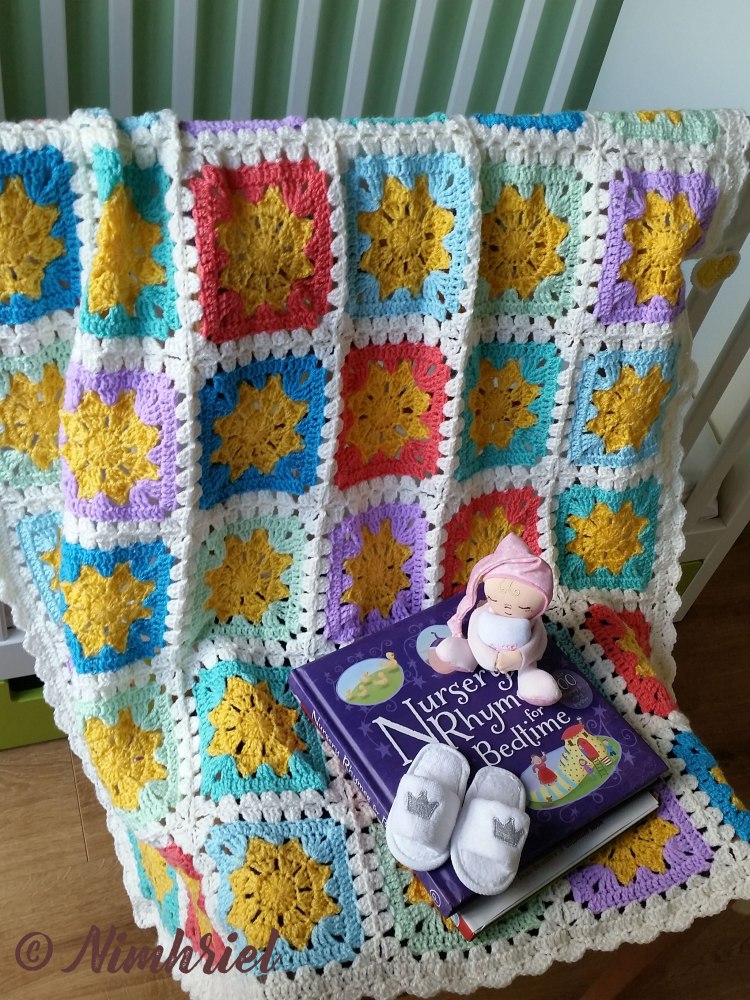
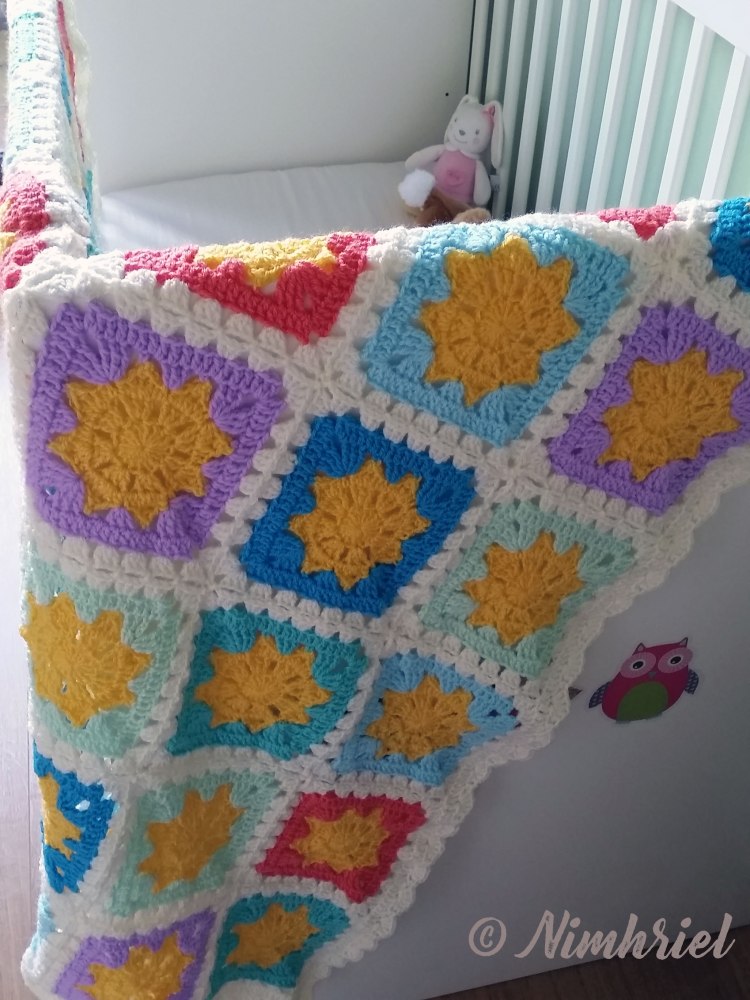
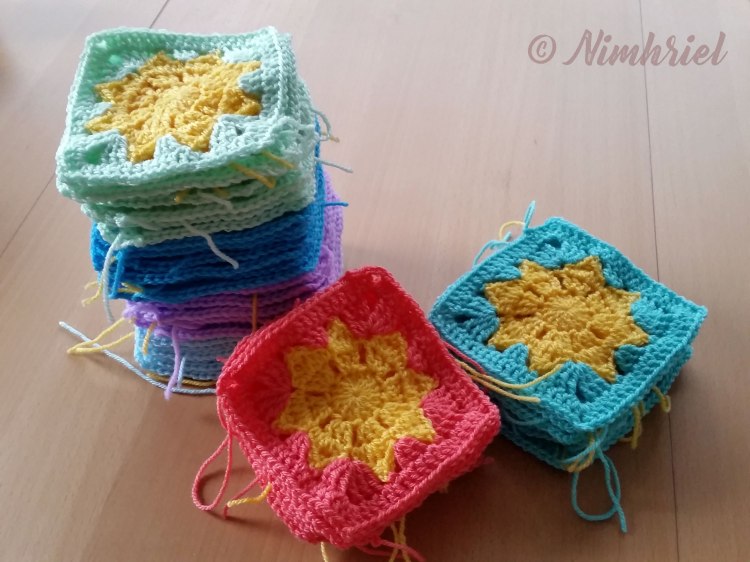
The first thing you’ll notice of this yarn is, of course, the colors. It goes from the subtle violet-white of Lavanderlicious to the bright rainbow of Jumpin Jelly. It’s easy to decide to buy one cake but picking up a shade could be one of the most difficult choice of your creative life. There’s really a shade for everyone, even the black-grey of Liquorice Yumyum for those who don’t fancy screaming colors. Be careful, though. This is a dangerous yarn. Several people even reported they have experienced a sweet voice in their heads whispering “I should buy them all”. Yes, it could be addicting. I know it well as I’m experiencing it at the moment, but I must confess I like it!

IMG_3178

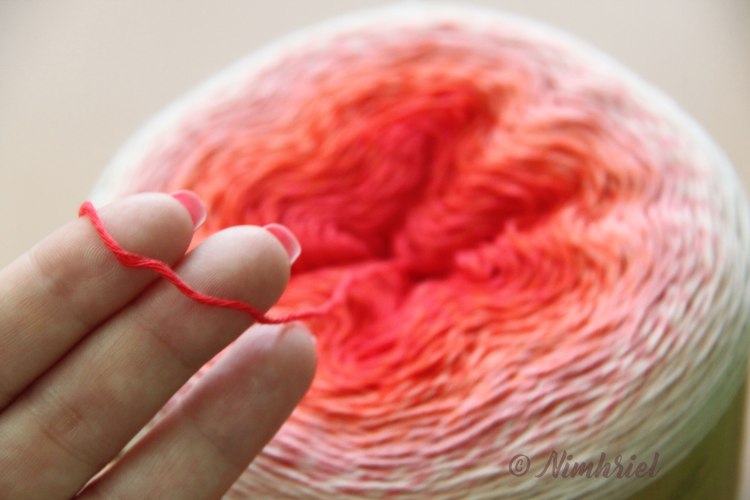
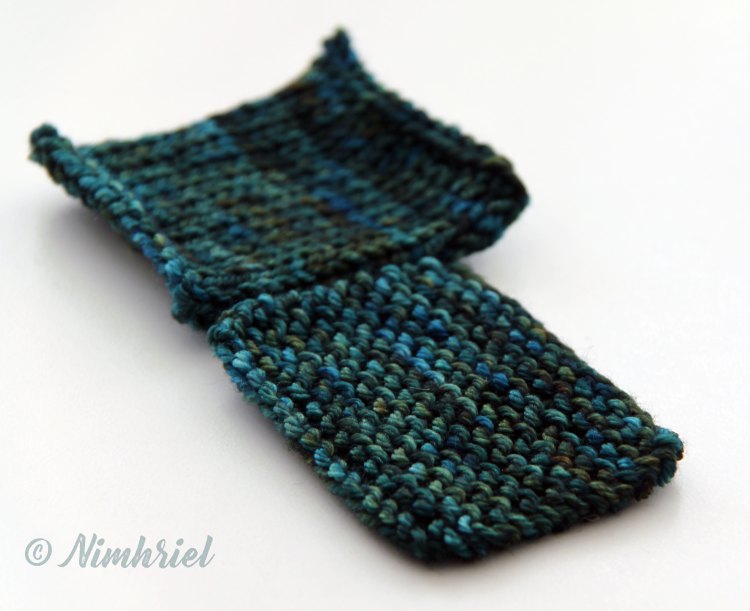
Once you are lucky enough to actually touch the cake, you’ll get a nice surprise: it’s soft, but of that softness you wouldn’t expect from a cotton blend yarn. Try not to squeeze the cake too much, if you can.

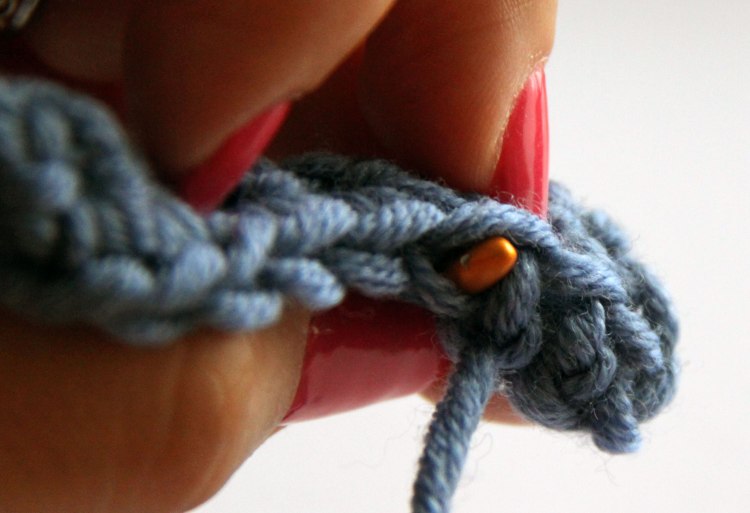
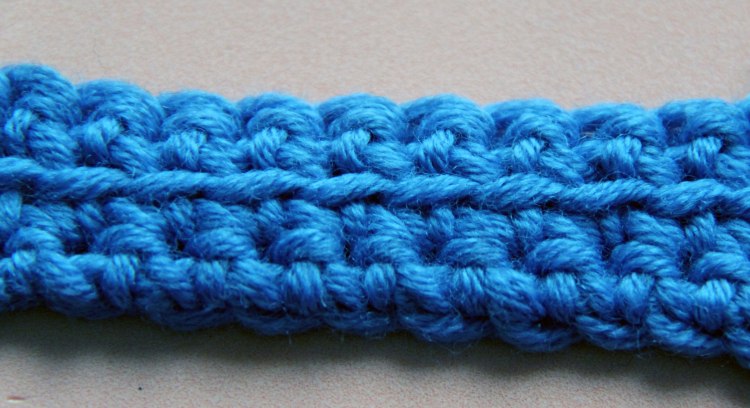
The thread is nicely twisted, promising a good stitch definition. Scheepjes says the ends between color changes are knotted together, but it’ll be hard to see these knots; you’ll probably notice a little fuzziness where the threads are joined together, but it’ll completely disappear in your stitches. These are not abrupt color changes: the different threads are twisted together, creating new shades, blending into each other and guiding the eyes through a smooth gradient transition.

IMG_3173

And then Whirl will give you another nice surprise: it’s not splitty. Cotton and cotton blends yarns tend to be splitty as the organic or manufactured fiber don’t stick to each other well as natural fibers do. But here Scheepjes has done a great job by twisting them, so it’s truly a pleasure to knit or crochet with this yarn.

IMG_3170

Another great feature of Whirl is the yardage: there’s 1 km of yarn, enough to complete a big shawl, a cardigan, a dress or a blanket. The only thing you need to do is find a pattern, take your hook or needles, and start your project, without worrying about color changes or yardage. Whirl will think about everything and let you enjoy your crafting times.

Tips

Think about the construction of your pattern before starting your cake. Remember that Whirl has a center pull but you can also start from the outside. You may want to choose which color in the cake will be predominant, the outer one or the inner one. For example, in a bottom up shawl, the starting color will be predominant.

Check out my free crochet pattern for Whirl ==> Maestrale

Please let me know if this review was useful for you and tell me about your experience with Whirl and your favorite colors. Are you following my Instagram account? If not, please hurry! I have a very very nice surprise coming up this week!
Have fun with your Whirl!

— This review is NOT sponsored by Scheepjes —


Maestrale

And here we are, finally ready to click that missile button called “Publish this pattern to Ravelry”

Yes, writing pattern is hard work at the moment, but I really like it. Sharing the knitting and crochet experience is fantastic. I find fascinating the whole idea that someone could use my instruction to make what I made, it’s like crafting together!

You can find the pattern here or on Ravelry.

The video tutorial is here!

IMG_3061mod copy

This shawl is crocheted. It’s called Maestrale, and it’s inspired by the strong wind that blows in the Mediterranean Sea, especially in Sardinia. This shawl is a gift, like everything I knit or crochet. It’s a gift for my mother in law and she lives, of course, in Sardinia.

I love the shawl, the color, the construction and the overall effect. I can be casual, wrapped around the neck on a plain t-shirt and a pair of jeans.

IMG_3130m

Or very elegant left open on the shoulders and closed in the front with a nice pin!

IMG_3146m.jpg

I used Scheepjes Whirl in color Green Tea Tipple; it’s a teal blue-green which gradually fades in light grey and then darkens a little bit.

The nice bit of this shawl is the shoulder line. I blocked it following the natural curve of the pattern and adding little spikes on top of each wave. This gives the shawl a very unique look. I like to fold the last bit outward so the spikes can be seen.

IMG_3068mod copy.jpg

This is one of my first pattern. I’ve spent a lot of time trying to write it as clear as possible but I know I could have skipped something or messed up somewhere. Please, feel free to contact me and point me my mistakes so I can fix them. This is a free pattern and I’d like it to be easy for everyone to follow. And, beside, if you know a nice software to make crochet chart, please, let me know! I’ve used Crochet Chart but I’d like to try something more flexible.

Happy crafting, I hope you enjoy as I did!